How to backup your SVN, Git and Trac data

With more and more data being created every day and more of our business and lives moving into the online world, many people underestimate the importance of maintaining effective backups of their data.

It is important to consider: what would the cost be to you, in terms of both time and monetary value, if your computer crashed or was stolen and you lost all your work?

Many computer users may be familiar with the Backup Rule Of Three, otherwise known as the 3-2-1 Rule. Briefly stated:

3 copies of anything you care about – Two isn’t enough if it’s important.
2 different formats – Example: Dropbox+DVDs or Hard Drive+Memory Stick or CD+Crash Plan, or more.
1 off-site backup – If the house burns down, how will you get your memories back?

At ProjectHut, we provide the tools to help you meet the 3-2-1 Rule and keep your critical data safe.

Multiple Backups with ProjectHut

By hosting your SVN, Git and Trac data at ProjectHut, you immediately gain the benefit of one off-site backup. Should your local computer be lost or destroyed, your data will be safe on our servers.

In addition, we also internally maintain our own off-site backups of your data, kept in a separate datacenter from our customer account servers. These backups are synchronised hourly, and provide a second level of protection, in the unlikely event that any of our servers should suffer catastrophic failure.

We also offer a third level of backup protection, in the form of a downloadable daily account archive.

ProjectHut daily account archive

The downloadable account archive contains the following information:

  • All SVN repository data
  • All Git repository data
  • All Trac project data
  • All Users and Groups
  • All permission configuration information for SVN, Git and Trac


These backups are generated by running the appropriate administrative tools for each type of data. For example, for SVN repositories, the backups are generated using the svnadmin hotcopy command, while Trac backups are generated using the trac-admin hotcopy command.

Git backups are generated by copying the refs and packed-refs files first, followed by the remainder of the repository files in order to prevent the chance of data loss (as per this discussion on the Git mailing list).

Once generated, the backups are archived and compressed as a .tar.gz file.

Should you ever need to restore this data locally, or move your data to another service, you can simply expand this archive and all your repository data will be ready to use!

How to create the backup archive

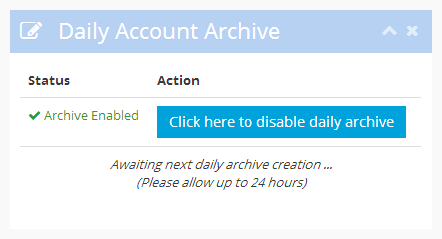
The daily archive is an optional feature of your ProjectHut account. To enable it, simply follow these steps:

  1. Login to the ProjectHut Control Panel (i.e. the admin/ area of your account).
  2. Click on the Archive Settings menu.
  3. Here you will see that the archive is disabled. Enable it by clicking on  the Click here to enable daily archive button. View the Archive Settings
  4. The archive feature will now be enabled. Please note: it may take up to 24 hours for the first archive to be generated. The archive will then be updated automatically every day unless the archive feature is disabled. Waiting for the archive to be generated.
  5. When the archive has been generated, a download link will be provided on the Archive Settings page. The daily account archive is ready for download
  6. Likewise, for your convenience, this link is also made available on the main Account Summary page in the right-hand Information sidebar. The account archive is available from the Account Summary page.

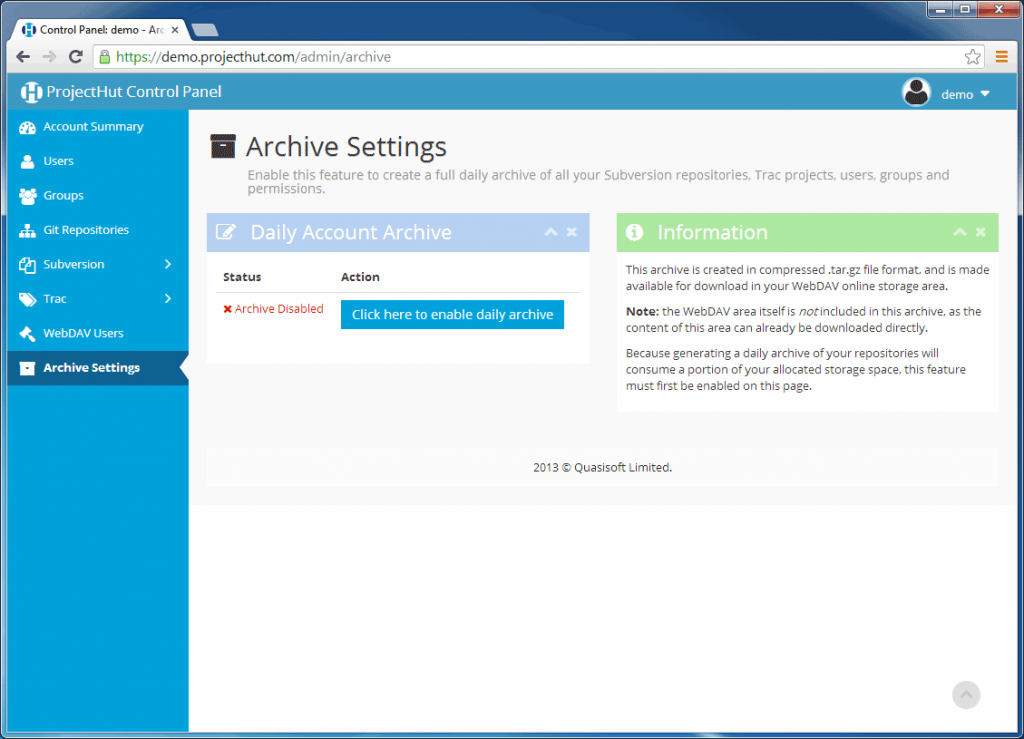
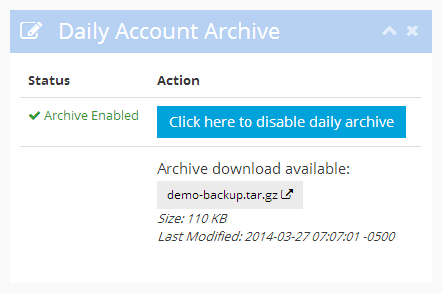
With this link, you can now download the backup archive and store it somewhere for safe-keeping. We recommend downloading the archive regularly and storing it in a third location separate to your computer, either on a separate medium such as flash drive or CD/DVD, or at a third-party backup provider, such as Dropbox or Amazon S3.

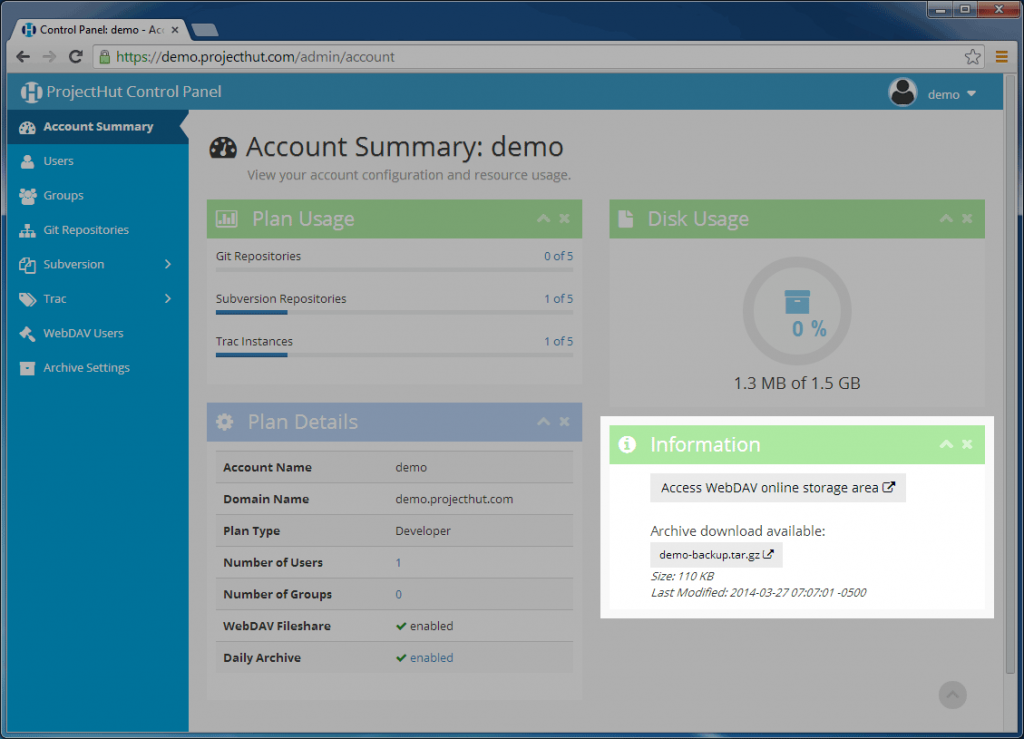
The daily backup archive file is also made available in your WebDAV area, so you can also download it by simply copying the file using your WebDAV client. Refer to our WebDAV instructions for more information on how to connect using WebDAV.

For security reasons, in order to download the Archive you will need to provide valid User credentials. By default, all registered Users have access to the WebDAV area. You can further restrict access to just a subset of your Users by using the WebDAV Users menu.

Conclusion

By leveraging the features provided in your ProjectHut account, it is a easy and straightforward process to maintain the best-practice 3-2-1 backups of your critical project data. We highly recommend that all users enable and make use of the daily archive feature as a core part of their business resilience practice.

  0 COMMENTS
Continue Readingred arrow

How to use TortoiseSVN

TortoiseSVN is the easiest and most popular way to use Subversion under Windows operating systems. Getting started couldn’t be easier – this post provides step-by-step-instructions on how to connect to ProjectHut using TortoiseSVN and make your first commit.

Note: these instructions assume that you have already:

  • Created a ProjectHut account
  • Created a User using the ProjectHut Control Panel
  • Created a SVN repository using the ProjectHut Control Panel
  • Assigned access permissions to your SVN repository for your User


Once you have completed these steps, you can start using TortoiseSVN on your computer.

How to checkout out a SVN repository using TortoiseSVN

  1. First, start by downloading the TortoiseSVN client software and installing it on your computer.
  2. Login to the ProjectHut Control Panel (i.e. the admin/ area of your account).
  3. Locate the Subversion repository that you wish to connect to in the Subversion page.
  4. Right-click on the orange View Subversion Repository link button, and select Copy link address to store the repository URL in the clipboard. Right-click to get the SVN repository URL
  5. In Windows explorer, locate the directory where you wish to checkout your repository. Right-click and select the 
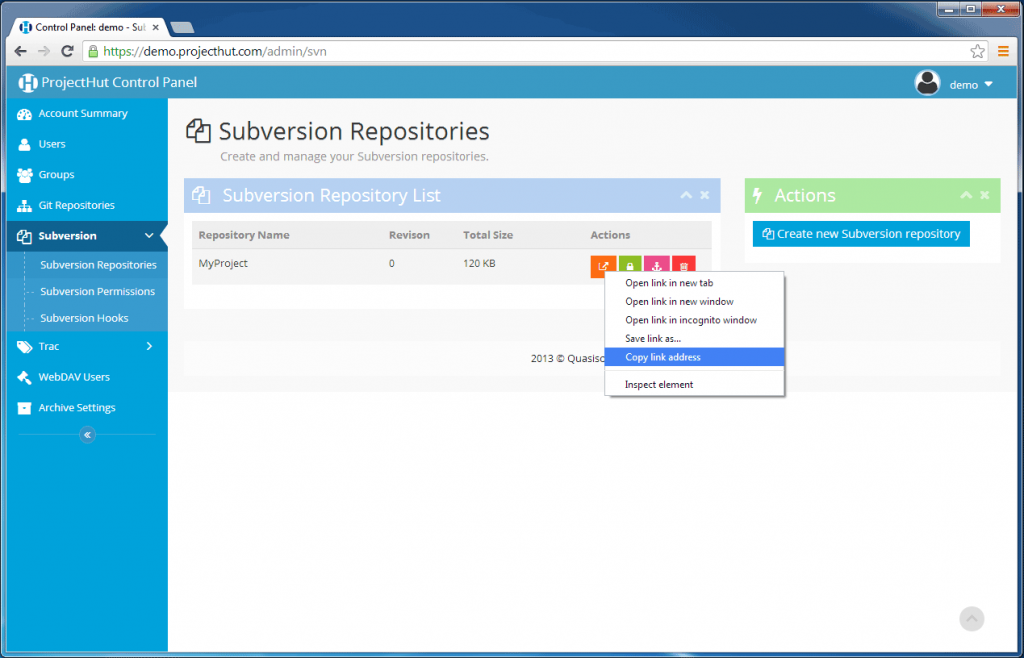
SVN Checkout... button. Right-click and select SVN Checkout...
  6. The TortoiseSVN Checkout dialog will appear. Paste the SVN repository URL into the 
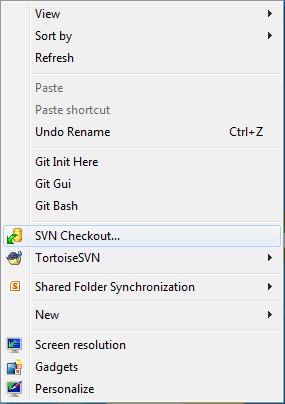
URL of repository: field, specify the Checkout directory:, and click OK. Enter the SVN URL and checkout directory
  7. If you have set your SVN Permissions to require authenticated access to your repository, a dialog will appear where you can enter the username and password of on of the repository Users. Make sure to select the 
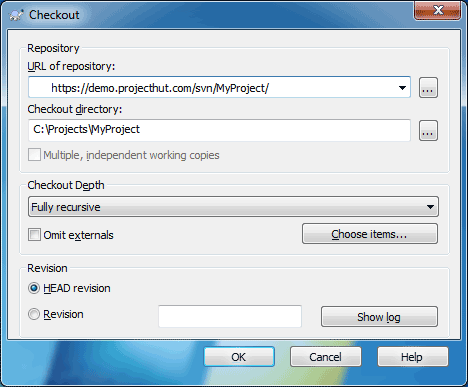
Save authentication checkbox to avoid having to re-enter the credentials each time you use TortoiseSVN. Enter User credentials
  8. Wait a few moments until the repository has finished checking out. Wait until the checkout operation completes.
  9. Use Windows Explorer to navigate to the directory containing the checked-out project. You will notice that the folder icon contains a green check icon – this indicates that there are no uncommitted changes contained in this folder, or any other folder underneath. The checked out repository


How to add files using TortoiseSVN

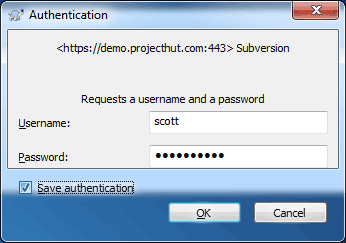
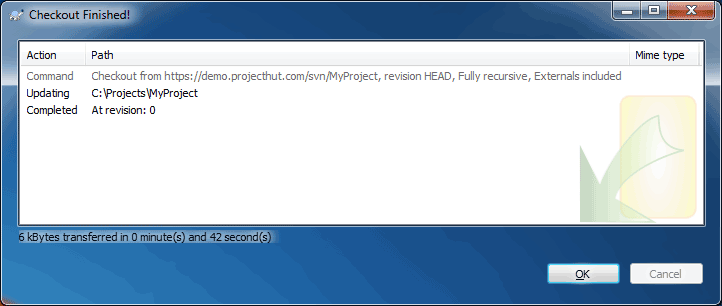
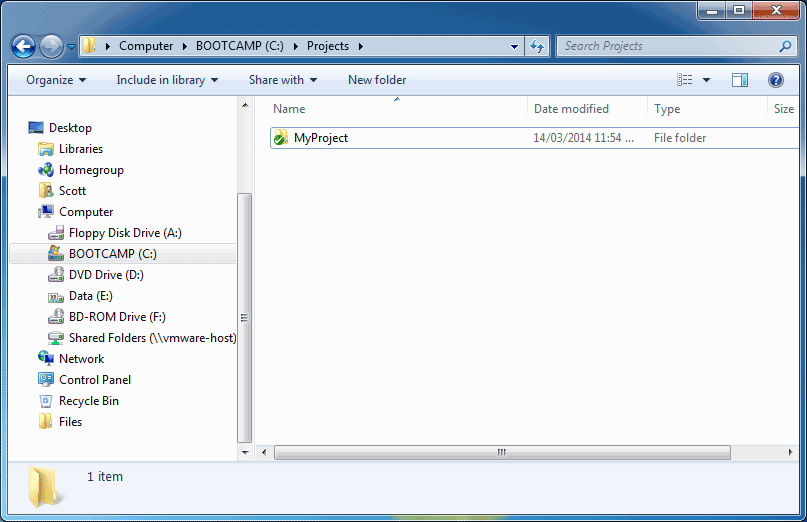
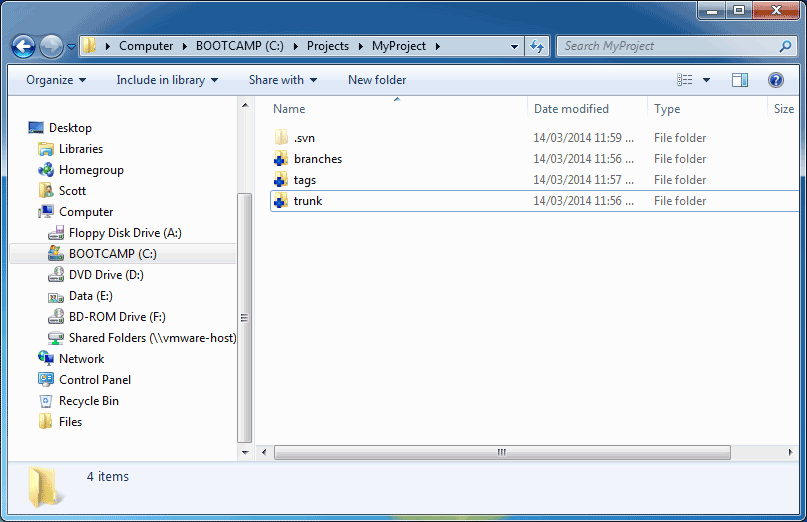
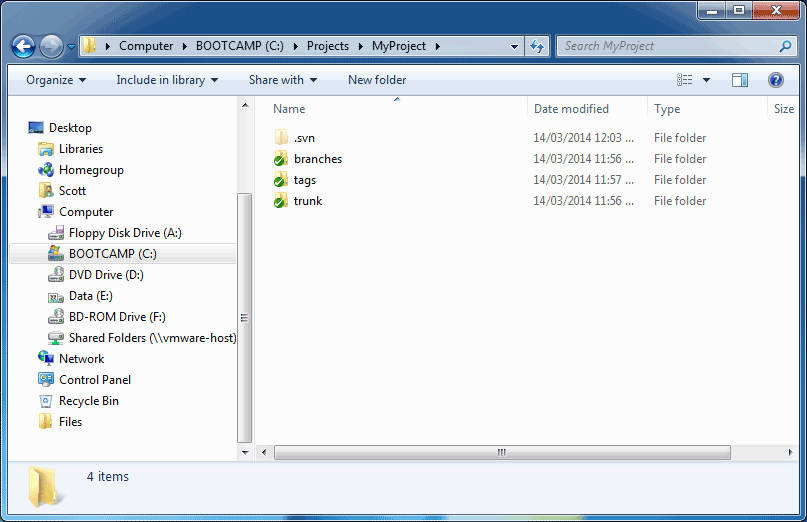
Once you have checked out a local copy of your repository, you can start using it by adding files.

In this example, we will begin by creating three top-level directories that make up a typical SVN repository (trunk/, branches, and tags/). Read our FAQ article on How to structure a SVN repository for a description of why this is a good idea.

  1. Using Windows Explorer, double-click on the checked out repository.
  2. Create three new empty directories, titled: branches, tags, trunk
  3. Highlight the three new directories, then right-click and select TortoiseSVN, then Add. Right-click to Add selected files to the repository.
  4. The TortoiseSVN Add dialog will appear. Here you can use the checkboxes to select or unselect files that are to be added to the repository. Make sure all three directories are checked, then click OK. Select the files you wish to add.
  5. A dialog will appear to confirm that the directories or files have been added to the local checked out repository. Files have been added to the local repository
  6. Now if you look at the project directory in Windows Explorer, you will notice that the three added directories appear with a blue add symbol next to them. This indicates that the files have been added to the local repository, but have not yet been uploaded to the server. The plus icons indicate the files have been scheduled to be added to the repository.

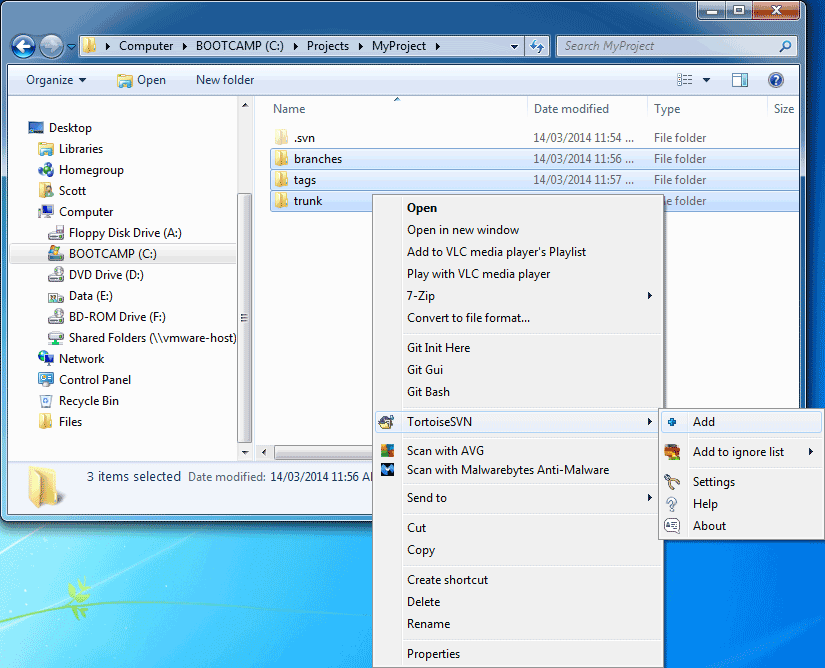
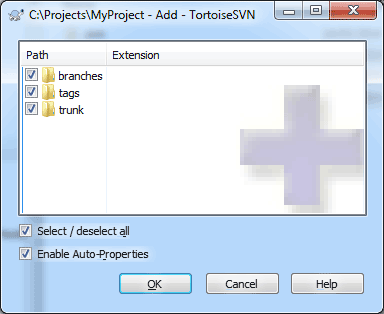
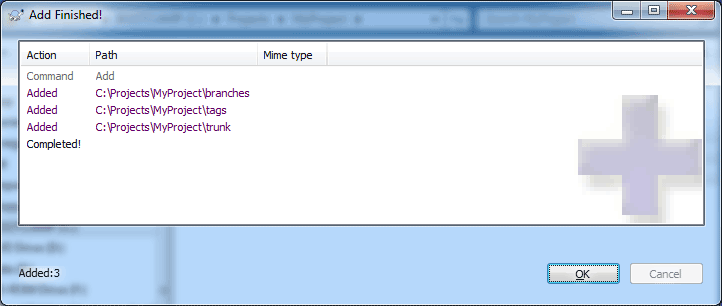
At this point, you may continue adding extra files or directories to the local repository. Likewise, you can also remove files if you no longer want to check them in. In this case, we are happy to add the three directories, so we will leave them as is.

How to commit files to the SVN server

When you are happy with the state of all the files in your local repository, you can commit the changes to upload them to the SVN repository stored on the ProjectHut server.

  1. Using Windows Explorer, navigate to the directory containing the checked-out project. You will notice that the folder now contains a red exclamation icon. This indicates that this directory, or one of the directories underneath, contains changes that have not yet been committed to the SVN repository.
  2. We will commit these changes now. Right-click on the project directory, and select SVN Commit... Right-click to select SVN Commit
  3. The TortoiseSVN Commit dialog will appear. In the large text-box, make sure to enter a detailed description of the commit, for example what has been added or changed. It is generally a good idea to always write meaningful log messages here to help other users (or yourself in the future) understand the contents of the commit, and why it was made. Here you also have a last opportunity to review the files being added, remove or updated and use the checkboxes to make changes. When you are happy with the commit, click OK. Review your commit and add a log message
  4. Wait a few moments while the commit operation is performed and the data is uploaded to the server. During this time, a dialog will appear to keep you informed of the status of the commit. When it has finished, click OK to dismiss the dialog. Wait for the SVN commit operation to finish
  5. You will now notice that the three new directories have been successfully added. The green check icon on each indicates that the changes have been committed to the server. Green checks indicate that the files have been committed to the server
  6. Using the ProjectHut Control Panel you can also confirm that a new revision has been committed to the server. Navigate to the Subversion repository list, and you will notice that the Revision number has been incremented to 1. Each new commit will result in this revision number being incremented. View the SVN revision in the ProjectHut Control Panel

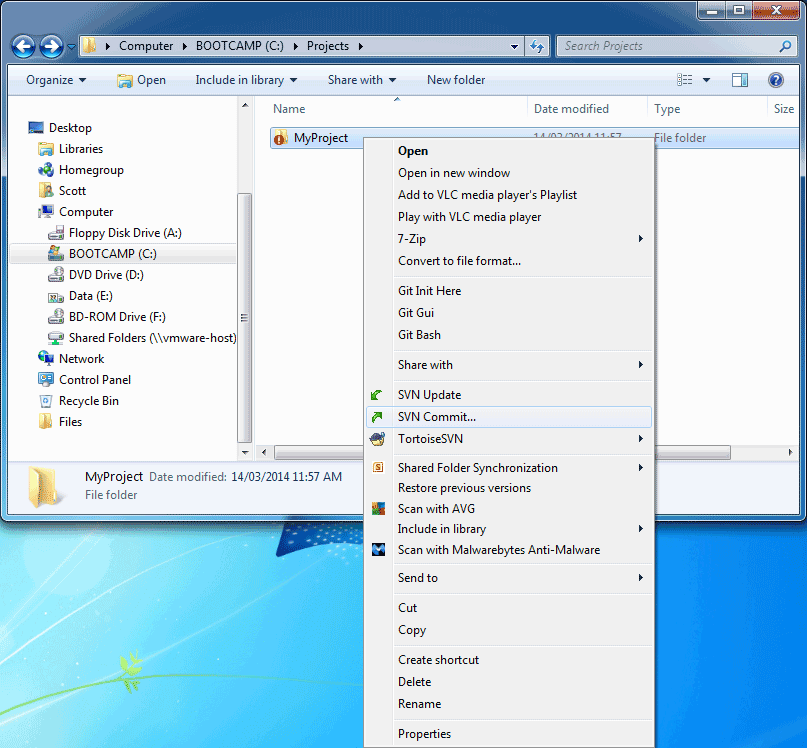
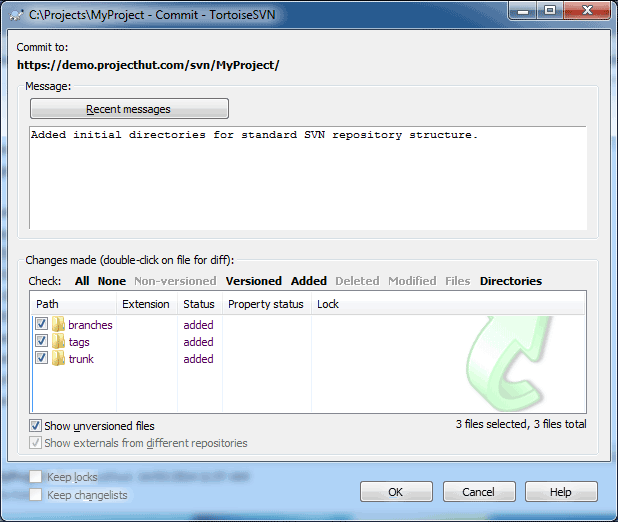
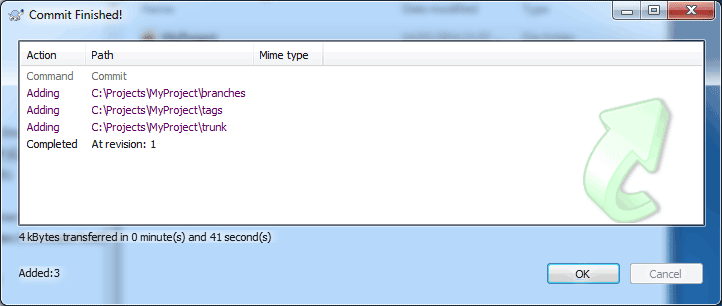
That’s essentially all there is to start using TortoiseSVN to commit files to your ProjectHut SVN repository!

  0 COMMENTS
Continue Readingred arrow
Resources